


Green Mountain Parts
Green Mountain Grill Parts
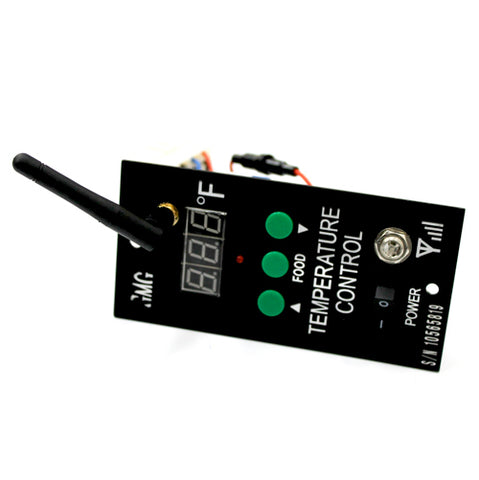
If Combustion blowers are the heart of a pellet stove then control boards are the brain. Nearly all control boards made in the past 15 years are digital processors. Running simple programs together with switches and controllers which can very accurately monitor what’s going on at any given stage or combustion and provide error reporting, however; like most low voltage digital processors, they are prone to damage through power surges. Unplug the unit when you’re not using it and always use a surge protector or power conditioner between the outlet and the appliance to protect your investment.

POWER ADAPTER CONVERTS 110V AC TO 12V DC
Quality Replacement part. Guaranteed quality or your mon...
$69.99
$99.95

Green Mountain Grill 15 AMP A/C ADAPTER- P-1283
15 AMP power adapter.
Guarantee to work on your ...
$79.99
$99.95
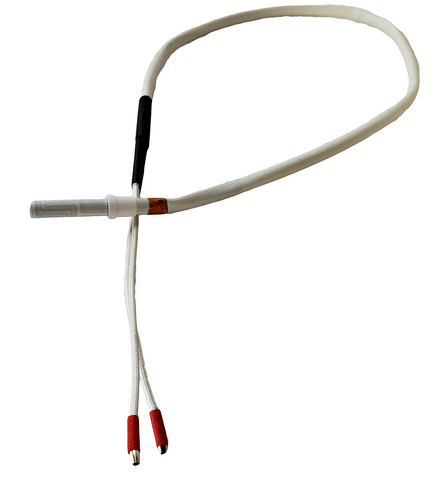
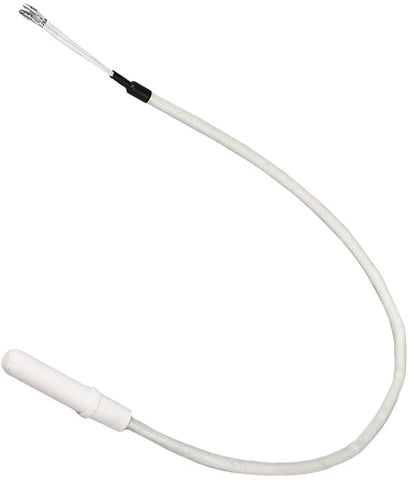
Green Mountain Grills Updated 12V Ceramic Igniter for Jim Bowie And Daniel Boone Prime Pellet Gri...
$19.99
$32.99
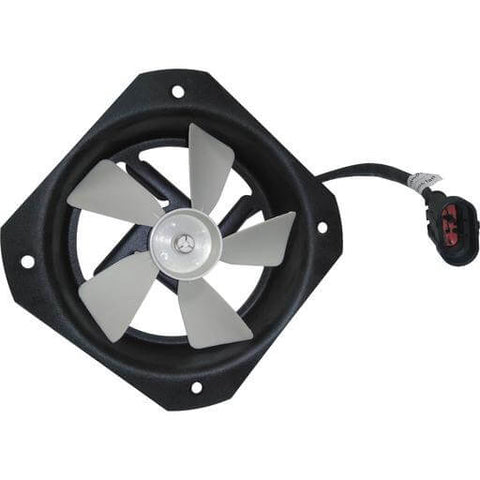
Green Mountain P-1221, 12V Combustion Fan for Ledge, Peak, Jim Bowie & Daniel Boone Prime and...
$39.99
$48.99
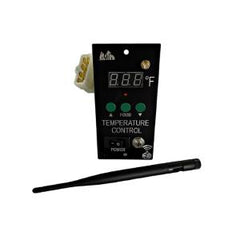
Wifi Digital Control Board – DBWF 110V
Includes: New WiFi Board and Antenna.
Replacement WiFi ...
$159.00
$179.00
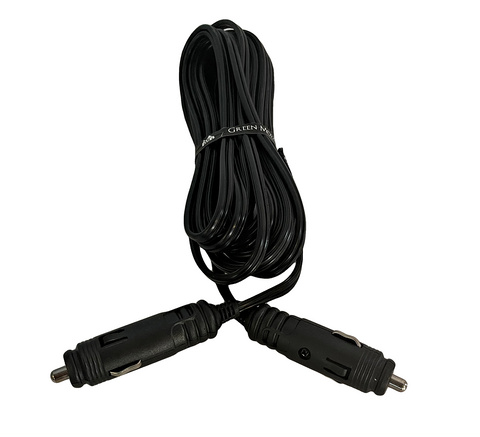
Green Mountain Grills, Davy Crockett & Trek 23' 12V Power Cord, P-1012, OEM
This cord is for ...
$15.99
$16.99
Currently Out Of Stock
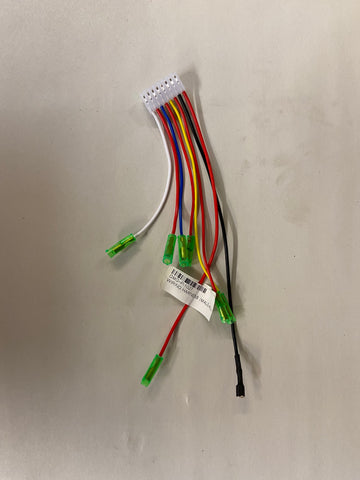
Green Mountain Wiring Harness for Davy Crockett Prime, P-1027
Replacement Wiring Harness for Davy...
$19.99
$24.99
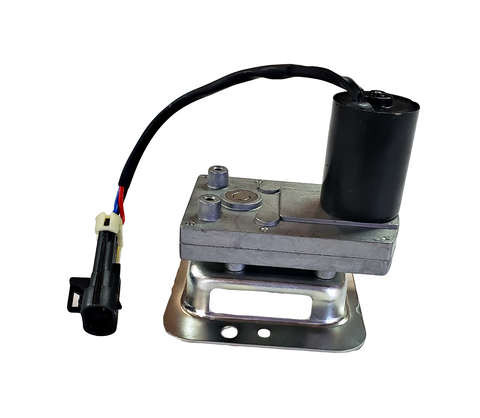
Green Mountain Grill 12V Auger Motor for Jim Bowie and Daniel Boone Prime & Prime Plus Pellet...
$56.95
$64.99
Currently Out Of Stock
Green Mountain Grills 200 Watt Igniter. Jim Bowie And Daniel Boone Grills, P-1099 P-1079
Replacem...
$17.99
$31.99